
Boat Gelcoat Restoration: Polish, Sand or Refinish
Choose the right restoration step for dull boat gelcoat. Learn how a test patch separates polishing jobs from surfaces that need sanding, repair or refinishing.
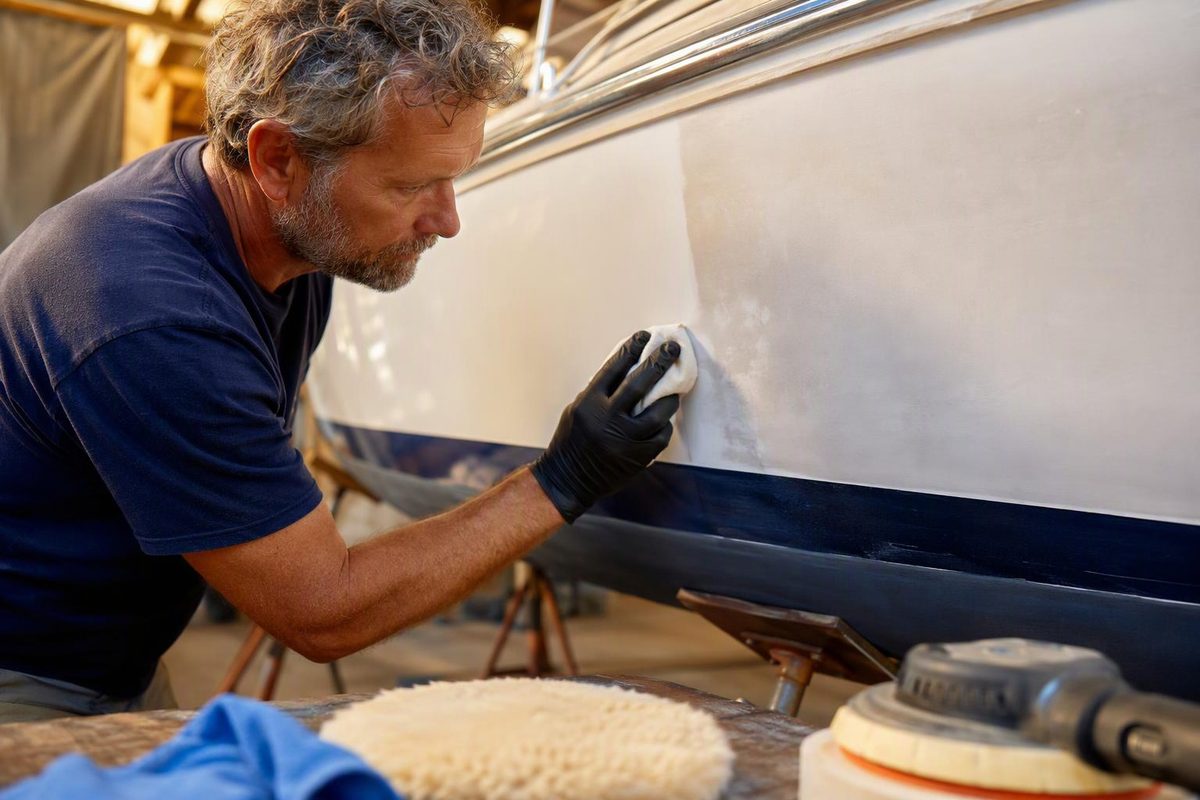
For intact but dull boat gelcoat, start with washing, stain removal and a small polishing test—not wet sanding the entire hull. Use the least aggressive process that produces an acceptable finish. Abrasive restoration removes existing finish; it does not add gelcoat or repair the fiberglass beneath it. Thin patches, exposed fiberglass, deep gouges, cracks or blisters need assessment before cosmetic restoration.
This process is for smooth, exposed gelcoat on hull sides and topsides, not antifouling paint or textured walking surfaces. West Marine’s restoration guide explains the clean–polish–protect sequence.
Select your finish and surface condition; use the result to choose your next test.
Choose Your Restoration Step
Try a Fine Gelcoat Polish
Use a small patch on a broad panel away from sharp edges. Wash away residue and inspect it dry before treating the whole surface.
This result assumes intact gelcoat. If thin areas or damage appear, stop and assess them before further cutting.
Source: West Marine gelcoat care, Practical Sailor restoration guidance and Awlgrip G/H Line care. This tool cannot measure remaining gelcoat thickness.
Confirm Gelcoat Before Choosing an Abrasive
Check the boat’s records or ask the builder or previous owner whether the surface is original gelcoat, replacement gelcoat or paint. A fiberglass hull is not proof that its outer finish is gelcoat. Paint requires its own maintenance instructions: for example, Awlgrip specifically prohibits polishing compounds on its G/H Line topcoat. See Awlgrip’s finish-care instructions.
After washing, sort the visible problems:
| What You Observe | Next Step |
|---|---|
| Dirt or discoloration on a reasonably smooth finish | Clean and treat stains before choosing an abrasive. |
| Slight dullness or light surface scratches | Test a fine gelcoat polish. |
| Chalky surface with otherwise intact gelcoat | Test a gelcoat compound, then refine if needed. |
| Thin patches, exposed fiberglass or deep gouges | Stop abrasive restoration there; assess repair or refinishing. |
| Cracks, blisters or movement beneath the finish | Diagnose the damage before working on appearance. |
Chalking is characteristic of moderate to heavy oxidation, but cracks need a different diagnosis. WEST SYSTEM’s technical guidance notes that gelcoat cracking can result from underlying flex or fractured laminate; treating only the surface can leave the cause unresolved. Read its crack-repair guidance.
For those branches, use our guides to boat hull stress cracks, gelcoat blisters or stable chips and gouges. A better shine is not evidence of a sound hull.
Remove Stains Before Cutting the Finish
Use boat soap at its labeled dilution, rinse thoroughly and let the surface dry for inspection. Treat remaining rust, waterline discoloration or other stains with a cleaner labeled for that stain and for gelcoat. Do not try to remove every stain by grinding away the finish.
Acid-based gelcoat stain removers can work on mineral and organic stains, but they can damage neighboring finishes. Wear the specified gloves and eye protection, protect adjacent materials, and follow the product’s dwell time and rinse instructions rather than borrowing a timing rule from another cleaner. West Marine’s guide covers stain-remover selection and precautions.
Before machine work, gather compatible polish or compound, the specified pads, clean wiping cloths, masking tape and a gelcoat-approved protective wax or sealant. Keep separate pads for cutting and finishing so coarse residue does not contaminate the finer stage.
Follow the product label and safety data sheet; choose eye, skin, hearing and respiratory protection appropriate to the work and exposure. 3M’s marine procedures emphasize job-specific protection.
Let a Dry Test Patch Determine the Process
Choose a small, representative area on a broad panel, away from sharp edges. Test the correction sequence there before committing to the boat:
- Start with a fine gelcoat polish if oxidation is light.
- If it does not correct the dullness, try a more aggressive gelcoat compound with its recommended pad.
- Remove residue, wash the test area and inspect it dry in good light for remaining oxidation.
- Refine any remaining haze with a finer polish if necessary.
Judge color, gloss and visible defects—not just how shiny the wet product looks. Practical Sailor’s restoration guide recommends a test patch, checking whether oxidation remains after washing the compounded area, and escalating abrasiveness only when the gentler approach makes no progress.
Work in shade on a cool surface, in small sections with overlapping passes. Follow the chosen product’s instructions for pressure, working time and residue removal. Meguiar’s M49 bulletin, for example, specifies a cool, washed surface and immediate residue removal after working the product nearly dry; that is not a universal instruction for every compound. See the M49 technical bulletin, and follow the current label on your product.
A random-orbital polisher is generally the safer starting point for inexperienced users; a rotary can cut quickly but can also mar or burn through gelcoat. Keep the pad moving, and treat edges and tight curves cautiously. Use GFCI protection for corded equipment around water. West Marine explains these machine precautions. For machine and pad selection, see choosing a gelcoat polisher.
Wet-Sand Only When Compounding Falls Short
Wet sanding is an escalation for sound gelcoat that compounding cannot adequately restore—not a routine first step.
Stop if the finish looks thin, fiberglass is exposed, or you cannot confidently judge what remains. Gelcoat thickness varies between boats, and corners and curves deserve particular caution. Practical Sailor identifies thin gelcoat, deep scratches and gouges as reasons to consider refinishing rather than continued cutting. There is no boat-specific remaining-thickness measurement here to justify a safe sanding allowance.
If sanding is appropriate, use wet/dry abrasive with a suitable backing block for a controlled hand test. Start with the least aggressive grade that works, keep the surface wet, rinse frequently and inspect it dry. Refine the sanding scratches before compounding.
In its heavy-oxidation procedure, 3M makes sanding optional and specifies following an 800-grit machine-sanding step with 1500 grit. That is a product-system reference, not a requirement to start with coarse paper on every oxidized boat. Match the final sanding grade to the scratch-removal capability of your chosen compound.
Do not wet-sand with an ordinary electric tool unless it is specifically approved for that operation. If the test needs substantial material removal to look acceptable, get a refinishing assessment rather than chasing every defect through the remaining coating.
Protect the Finish You Have Preserved
Once the surface is clean and sufficiently polished, apply a gelcoat-approved marine wax or sealant according to its label. A one-step cleaner-wax can be practical for light oxidation; it should not substitute for necessary correction on a heavily chalked surface. West Marine distinguishes one-step maintenance from the full restoration sequence.
Keep molded non-skid outside this smooth-surface workflow unless the product is specifically approved for it. Maintain the restored areas with regular washing and renew protection according to the product instructions and exposure. The useful endpoint is a clean, protected finish with enough gelcoat left—not removing every scratch at any cost.