
Gelcoat Wet Sanding: Grit Choice, Steps and Stop Points
Choose wet-sanding grits for old gelcoat or a cured repair, refine scratches, and recognize when to stop before cutting through the finish.
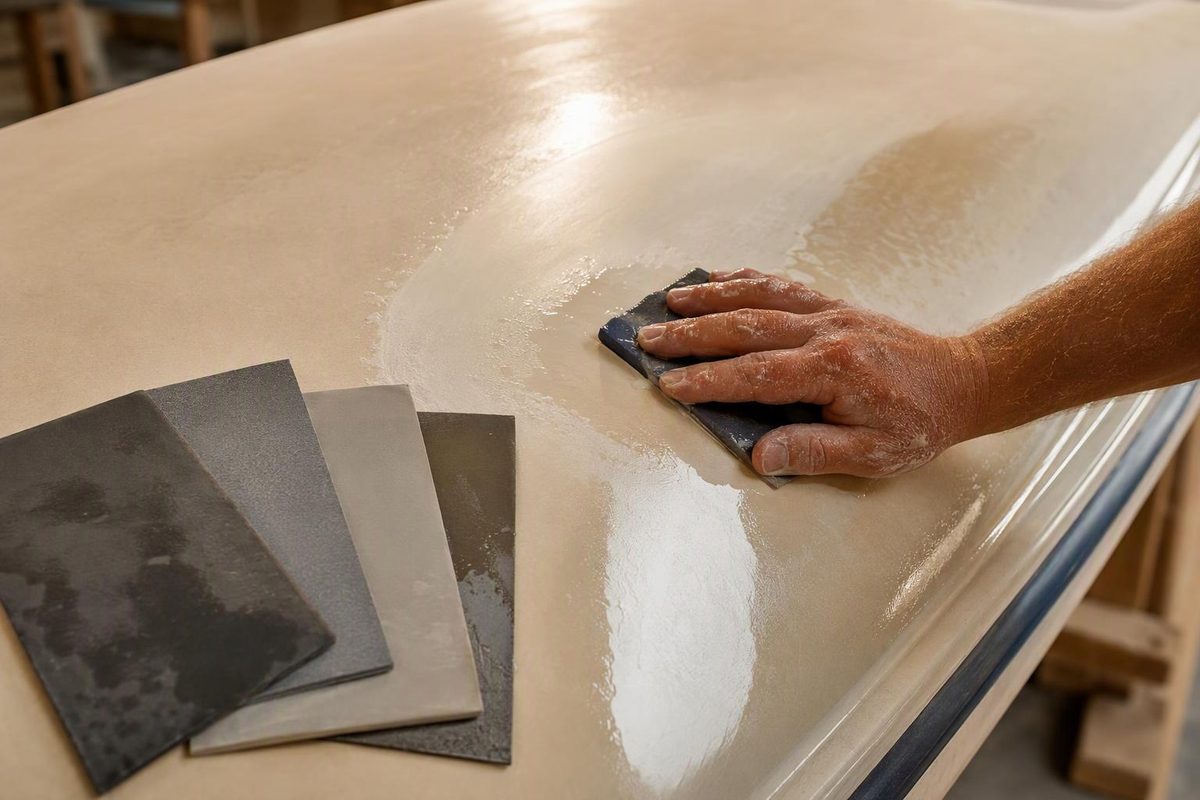
Gelcoat wet sanding removes material; it does not add protection or repair damaged fiberglass. Use it to reduce shallow surface defects or level a fully cured gelcoat repair, then compound and polish the sanding marks. Start with the finest abrasive that makes useful progress, and test the complete process on a small patch before expanding.
The two jobs need different approaches: leveling fresh repair material is not the same as restoring an old hull with an unknown amount of gelcoat remaining.
Check that sanding is the right job
This workflow is for smooth, confirmed gelcoat. Do not apply it unchanged to paint, acrylic fixtures, clear-coated finishes or molded nonskid. If the finish is unknown, identify it first.
Wash the surface and inspect it dry. For dullness or a light scratch, try a suitable gelcoat polish or compound first. Even 3M’s heavy-oxidation procedure treats wet sanding as optional, depending on surface condition. If compounding restores an acceptable finish, stop there. For the broader clean–restore–protect decision, see boat gelcoat restoration.
Do not sand a deep gouge until the surrounding surface reaches its bottom. Fill missing gelcoat instead; the gelcoat scratch repair guide explains that decision. Cracks that open, grow or accompany panel movement need diagnosis before cosmetic finishing.
Gelcoat is a relatively thin surface layer over the load-carrying laminate. WEST SYSTEM describes typical molded boat gelcoat as 12–22 mils thick, but that is not a measurement of your boat’s remaining finish. Previous sanding and local thickness variation make a fixed “safe number of passes” unreliable. See its fiberglass boat repair manual.
Choose grits for the surface—not a universal ladder
| Surface condition | Practical starting approach | Next decision |
|---|---|---|
| Old gelcoat with light haze or shallow marks | Compound first. If sanding is still justified, a small P1500 wet-sanding test is a conservative trial—not a guaranteed suitable grade. | Finish and polish the test before deciding whether a more aggressive cut is necessary. |
| Heavy oxidation that does not respond to compound | Use a gelcoat finishing system’s specified abrasive and process. | If the test requires substantial removal, assess whether refinishing is safer than continued sanding. |
| Fresh gelcoat repair standing slightly proud | Follow the repair product’s leveling instructions; keep the initial cut concentrated on the raised material. | Move to finer abrasives as soon as the patch matches the surrounding contour. |
| Deep scratch, low spot or exposed laminate | Do not chase it with sandpaper. | Repair the missing finish or laminate first. |
For rough areas in its own cured gelcoat, TotalBoat specifies starting at 220 or 320 grit and working to at least 1500 grit or finer. It also explicitly warns against sanding through. That coarse starting point is not a default for weathered original gelcoat. Follow the TotalBoat instruction sheet when using that product.
Choose the final sanding grade with the compound in mind. For example, 3M specifies its Light Cutting Polish + Wax for P1500 and finer scratches; different compounds have different capabilities. Check the gelcoat finishing system specifications, not just whether the bottle says “polish.”
Wet-sand a small test area
Gather wet/dry paper, a sanding block suited to the contour, clean water, a spray bottle or sponge, clean cloths, masking tape and the intended gelcoat compound and polish. Hand sanding is a manageable starting method for a small repair. Wear eye protection and suitable gloves, contain the slurry, and do not wet-sand with powered equipment unless it is specifically approved for that operation. Follow the cleaners’ and finishing products’ labels and safety data sheets for ventilation and protective equipment.
- Clean before abrading. Remove dirt and surface contaminants, including wax, using products appropriate for the finish. Protect nearby trim, decals and areas you do not intend to sand.
- Check a new repair’s cure. Follow its specified sanding readiness and remove any PVA curing film or wax as directed. TotalBoat requires fully cured, dewaxed gelcoat before wet sanding. If the repair smears or gums the abrasive, stop and resolve the cure or contamination issue rather than pressing harder.
- Support the paper. Keep the block face against the surface; do not cut with its corner or edge. On curves, use a backing that follows the contour rather than forcing a rigid block across it.
- Keep the cut wet and clean. Use controlled, overlapping strokes with light, even pressure. Replenish water and rinse away slurry frequently. Replace paper that is clogged or contaminated. TAP Plastics’ gelcoat care instructions support keeping the surface wet, clean and the block flat.
- Inspect after short intervals. Rinse, wipe and let the patch dry. Look under angled light. Wetting can disguise scratches, so a glossy-looking wet patch is not proof that the sanding marks are gone.
- Refine rather than keep leveling. Once the defect is sufficiently reduced or the repair is flush, switch to finer paper. Remove the preceding grit’s marks before moving on; slightly changing stroke direction can help distinguish them. Rinse the surface and block between grades.
Stop immediately if a different underlying layer appears, reinforcement becomes visible, or the repair becomes lower than its surroundings. Layer exposure is a failure signal, not an intended sanding endpoint. Treat sharp edges and raised details separately and conservatively; do not carry the broad-area sanding routine straight across them.
Compound the test before doing more sanding
Rinse away all slurry and dry the surface. Use the selected gelcoat compound with its specified pad and machine settings, then a finishing polish if needed. Avoid dwelling in one place: WEST SYSTEM warns that excessive buffing heat can stain the repair.
Remove finishing residue as directed and inspect the dry test before applying any separate protective wax. Remaining isolated coarse scratches usually point to incomplete scratch refinement—not a reason to sand the whole panel again. A low patch needs filling, and a color mismatch may need a corrected repair rather than further removal.
If the test gives an acceptable result, repeat that limited process on comparable sound areas, continuing the dry inspections. A successful test does not establish remaining thickness elsewhere. Apply an appropriate protective wax only after finishing is complete and where the surface’s use permits it. For the machine stage, use the gelcoat buffing workflow.