
Gelcoat Polisher: Choose the Right Machine, Pad, and Process
Match a rotary or dual-action gelcoat polisher to oxidation, then choose a compatible pad, compound and process without over-cutting the finish.
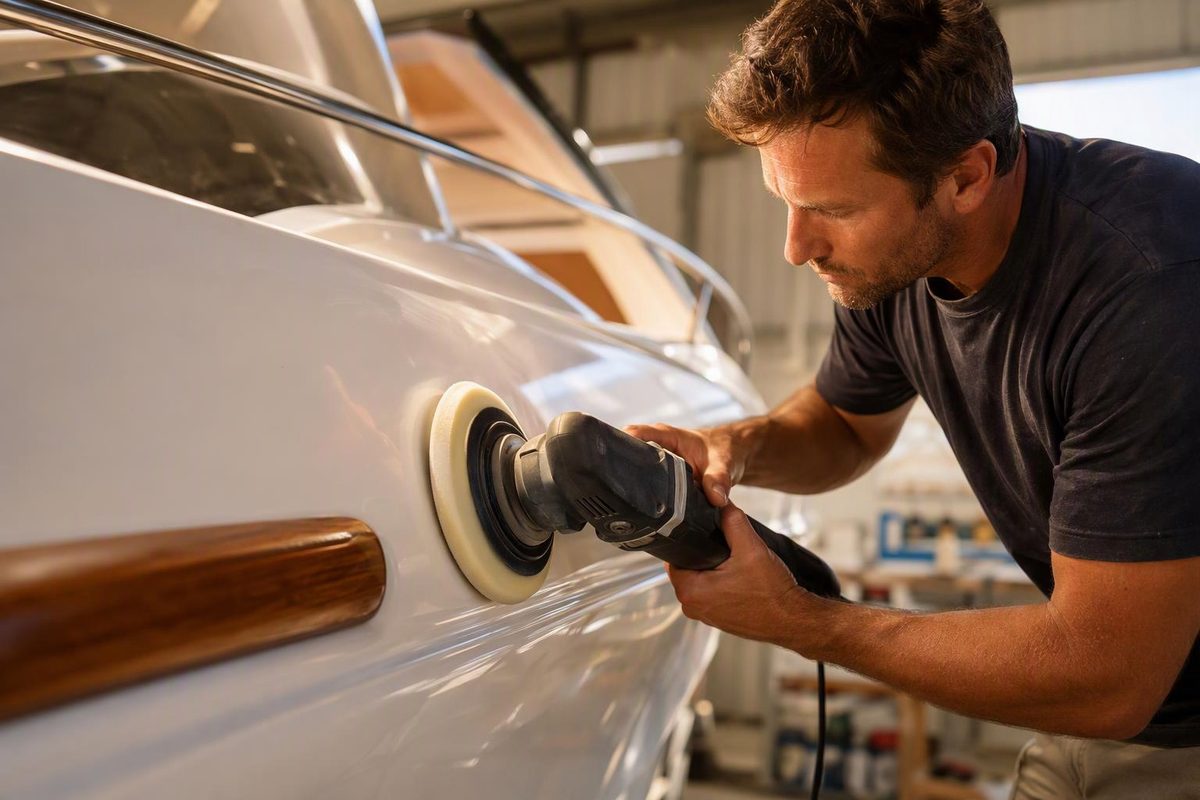
For routine gloss restoration and light oxidation, choose a variable-speed dual-action (DA) gelcoat polisher. It is more forgiving than a rotary. For heavy, chalky oxidation or refined sanding marks, a rotary polisher provides more direct cutting action but requires tighter control of heat, pressure, pad angle and speed.
Polishing is appropriate only for a stable cosmetic finish. It will not repair cracks, blisters, deep gouges, exposed fibers or movement in the laminate. Diagnose those conditions first; see gelcoat repair or cracking gel coat as applicable.
Select the finish condition, defects and surface shape to get a starting machine, pad and process.
Gelcoat Polisher Starting Point
Starting recommendation
Variable-speed DA polisher
Pad and product: Polishing pad with a light gelcoat polish.
Process: Make a test spot, work in small sections and keep the pad flat.
Source note: Decision rules summarize the manufacturer directions and safety guidance cited in the article; product-specific speed limits still control.
Match the Polisher to the Gelcoat Condition
| Gelcoat condition | Sensible starting system |
|---|---|
| Glossy; protection due | DA, soft finishing pad, non-cutting wax or sealant |
| Slight haze or light oxidation | DA, polishing pad, light gelcoat polish |
| Moderate oxidation | DA with a firmer pad, or rotary with the mild pad and compound specified by the product maker |
| Heavy chalk or known fine sanding marks | Rotary, compatible wool cutting pad and gelcoat compound; refine afterward if needed |
| Cracks, blisters, deep scratches or visible laminate | Stop and repair the defect rather than polishing it |
Meguiar’s says its M49 Heavy Duty Oxidation Remover can be applied by hand, DA or high-speed rotary, while recommending rotary application for its best results. That advice applies to M49 rather than every compound, but it illustrates why a rotary is commonly selected when substantial correction is required (Meguiar’s M49 guidance).
A DA is the practical starting point when the finish is merely hazy or lightly oxidized. Its motion makes it easier to maintain an even cut across curved gelcoat. A rotary concentrates its action directly beneath the pad, making it faster on stubborn oxidation but less tolerant of poor technique around edges, ridges and fittings.
Prioritize Control Over Maximum Power
Variable speed is a high priority. It lets you spread material slowly and then work at the compound maker’s specified setting. Do not treat a DA machine’s orbits per minute as equivalent to a rotary machine’s revolutions per minute.
Soft start and electronic speed control are useful. Soft start reduces compound sling, while electronic control can help maintain speed under load. Makita lists a 0–3,200 rpm range, soft start and constant-speed control for its 9237C rotary. The machine’s maximum speed is not a recommended gelcoat setting (Makita 9237C specifications).
Choose a manageable pad size. A 7- or 8-inch rotary pad covers broad hull sides efficiently but becomes awkward around fittings and tight curves. A 5- or 6-inch DA is easier to place in smaller sections. Corners, narrow details and areas next to hardware may still be safer to polish by hand.
Check the complete system before buying. Confirm that the backing plate, attachment method, spindle and pad diameter fit the tool. The pad and other accessories must be rated for at least the tool’s maximum speed. Keep separate pads for compound, polish and protection so coarse residue does not contaminate the finishing step. Makita’s safety instructions also call for inspecting accessories before use and matching their mounting hardware to the tool (9237C instruction manual).
Also account for the surface you will actually polish. Large, open hull sides favor a larger pad, while molded curves, narrow transoms and hardware-dense areas favor a smaller, easier-to-position machine. A polisher that is difficult to hold flat is not made safer by having more power.
Use the Least Aggressive Process That Works
-
Inspect before cutting. Stop if you find cracks that open under light pressure, blisters, soft areas, leaking damage, exposed glass or an unknown thin finish. Mask decals, rubber, textured deck areas, sharp edges and hardware.
-
Wash and dry the surface. Dirt trapped under a pad can create scratches. Work out of direct sun on cool gelcoat. 3M’s directions likewise say to wash first and not apply its products to a warm surface or in direct sunlight (3M gelcoat directions).
-
Make a test spot. Start with a polishing pad and mild gelcoat polish. Escalate to a cutting pad or compound only if that combination cannot clear the haze. Wipe away the residue and inspect in good light before treating a larger area.
-
Work a small section. Center the pad, apply a thin film and place the pad against the gelcoat before starting. Use overlapping passes and keep the pad as flat as the shape permits. Do not hold a rotary stationary or lean its edge into ridges, corners or raised details.
-
Control heat and residue. Stop the tool periodically and check the surface. Clean or replace a loaded pad rather than adding pressure. Parker’s owner manual warns that heat buildup can distort the surface and that excessive or repeated compounding can wear away gelcoat (Parker Boats owner’s manual).
-
Refine and protect. If cutting leaves haze or rotary swirls, change to a clean polishing pad and finer polish. Inspect the finish, then apply a compatible wax or sealant. Do not wax non-skid or other walking surfaces; Parker warns that wax makes them slippery.
For its Perfect-It gelcoat compounds used with the specified wool pads, 3M directs users to buff at 1,200–2,000 rpm, reducing pressure as the product begins to dry. This is a system-specific range, not a default for every pad and compound. Follow the lowest applicable limit among the polisher, backing plate, pad and product instructions.
Do Not Jump Straight to Sanding
Compounding abrades gelcoat; sanding removes more material. If a test spot remains chalky, first determine whether the problem is oxidation, a failed coating, an old repair or exposed laminate.
When sanding is genuinely required, follow a documented finishing system and begin with the least aggressive grit that will remove the defect. In 3M’s professional system, the sanding scratch is refined with 1500-grit-or-finer abrasive before rotary buffing (3M gelcoat finishing guide). That is a controlled, product-specific sequence—not a reason to begin every faded hull with sandpaper.
Unknown gelcoat thickness, sharp contours and previous refinishing are reasons to stop and have the finish assessed. If the finish is already thin, further sanding or repeated heavy compounding may expose the laminate rather than restore gloss.
Keep the Machine and Work Area Safe
Wear eye protection, secure loose hair and clothing, maintain firm footing and keep the cord clear of the spinning pad. Disconnect power before changing accessories.
Keep a corded polisher out of rain and wet conditions. Where damp-location use is unavoidable, Makita’s manual specifies a GFCI-protected supply. It also requires outdoor-rated extension cords for outdoor use and warns against operating near flammable materials (Makita safety instructions).
The practical buying priority is controllable variable speed, a pad size suited to the surface, readily available compatible pads and a machine you can keep stable. Let the test spot—not the machine’s maximum speed—determine how much cut the gelcoat needs.