
Buffing a Fiberglass Boat: A Safe Gelcoat Workflow
Choose the right polish, pad and machine for boat gelcoat. Follow a test-patch workflow, product-specific speeds and clear stop points for damaged finishes.
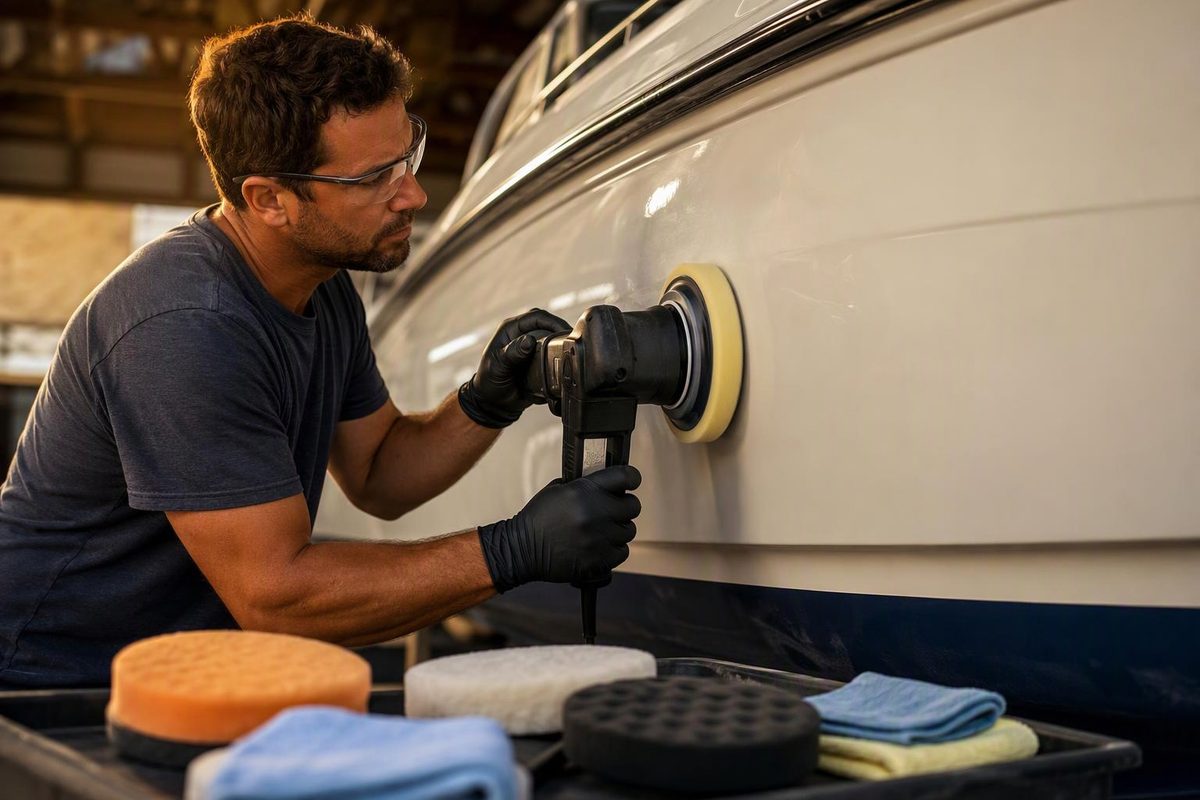
For a gelcoat-finished fiberglass boat, the practical buffing sequence is wash, test the least aggressive suitable polish, compound only if needed, refine the finish, then protect it. Start only on sound, smooth gelcoat—not damaged coating, exposed laminate or an unidentified painted finish. Do not begin by sanding the whole hull or choosing the strongest compound.
Select your finish, its condition and your test result to find the next step.
Choose Your Next Buffing Step
Try a Light Gelcoat Polish
Wash, rinse and dry. Test a small representative patch using a gelcoat-rated light polish and its approved application method. Inspect the wiped, dry finish before deciding whether to compound.
Work on cool gelcoat in shade. This tool does not select a machine speed; use the exact product and machine directions.
Sources: 3M gelcoat product directions and finishing guide; Shurhold polisher instructions; Awlgrip finish-care guidance. Decisions apply to the finish and condition selected, not to structural repairs.
You are normally buffing the gelcoat—not the glass reinforcement beneath it. Gelcoat provides the smooth cosmetic surface over the structural laminate; improving its gloss does not repair damaged fibers or a wet core. WEST SYSTEM’s boat repair manual explains that distinction. Abrasive restoration removes existing finish, so the goal is acceptable gloss with minimal cutting.
Confirm That the Finish Can Be Buffed
This workflow is for sound, smooth gelcoat, such as topsides and smooth deck sections. Keep textured nonskid, bottom paint, decals, rubber and exposed laminate outside the work area.
Check the finish history first. A fiberglass hull may have been repainted, and gelcoat compounds are not automatically suitable for its paint. For example, Awlgrip specifically prohibits polishing compounds on its G/H Line topcoat. That restriction is not a rule for every marine paint: follow the exact coating’s maintenance instructions. Awlgrip finish-care guidance
After washing, inspect for cracks, blisters, chips and areas where the coating has worn through. Set those aside for diagnosis rather than trying to buff them away. If a crack is growing, leaking or associated with movement, use the boat hull stress-crack triage guide before cosmetic work.
Match the Product, Pad and Machine
Gather boat wash, rinse water and drying towels; a gelcoat-rated light polish; and a cutting compound only if the test patch calls for it. You also need a variable-speed polisher, pads approved for the chosen products and machine, clean microfiber towels, a suitable pad-cleaning brush, masking tape and compatible marine wax or sealant.
Keep separate cutting and finishing pads, plus spare clean pads. Match pads by their stated function, not color. In 3M’s gelcoat system, wool compounding and polishing pads serve different stages. Shurhold specifies its wool compound pad for Buff Magic on its dual-action polisher. Neither arrangement makes every wool pad suitable for every machine.
Wear eye protection and follow the product label, safety data sheet and machine manual for gloves, ventilation and other protection. Keep electrical connections dry and use a GFCI/RCD-protected supply for corded equipment around water. Work from stable footing rather than reaching beyond comfortable control of the machine.
Let a Dry Test Patch Determine the Cut
Remove loose dirt and grit, rinse thoroughly and dry the surface. Work in shade on cool gelcoat; 3M’s directions prohibit application on a warm surface or in direct sunlight. Mask vulnerable adjacent materials before starting. 3M product directions
Choose a small, representative area—not the best-preserved spot under a cover. Start with a light gelcoat polish if the surface is only mildly dull. Some light-oxidation products can be applied by hand; 3M provides that option for its Light Cutting Polish + Wax.
Remove residue as directed and inspect the dry patch in good light. The result determines whether to repeat, escalate or stop:
| Dry Test Result | Next Step |
|---|---|
| Satisfactory gloss | Repeat that treatment; heavy compounding is unnecessary. |
| Chalkiness remains | Test a more aggressive gelcoat-rated compound with its specified pad. |
| Little improvement | Stop escalating and reassess the finish. |
| Worn-through coating or deeper defects | Diagnose and repair rather than continuing to buff. |
For a finish that does not respond, use the gelcoat restoration decision guide to consider repair, controlled sanding or refinishing. A failed buffing test is not a reason to sand the whole hull without assessing what coating remains.
Work in Small Sections With a Clean, Flat Pad
A roughly 2 × 2 ft section is a useful starting size, used in both 3M’s product directions and Shurhold’s dual-action instructions cited above. Reduce it around curves or where you cannot keep the pad flat.
- Apply the product as its directions specify. Do not assume every compound goes directly onto the pad.
- Spread it with the pad against the surface before starting the machine.
- Keep the pad flat and moving in overlapping passes, first in one direction and then across it.
- Use the specified pressure; do not lean harder on a stubborn mark.
- Switch off before lifting the pad away, then wipe the section and inspect it.
- Clean or change the pad as it loads with residue. Disconnect power before changing pads; follow the machine’s instructions for cleaning them safely.
Shurhold’s dual-action instructions specify light pressure, overlapping passes and pad fluffing between sections. Its application method places compound on the surface rather than repeatedly loading the pad.
Use Product-Specific Speed Settings
There is no universal boat-buffing speed. For example, 3M’s 2021 directions specify 1,200–2,000 rpm for machine compounding and polishing, while Shurhold gives numbered dial settings for its dual-action system. Follow the current directions for your product and machine. Do not transfer rotary rpm to a dual-action dial or treat orbital speed as equivalent to rotary speed.
With a rotary, stationary or tilted-pad work can cause heat damage and swirls. Keep the pad moving and flat, as Shurhold’s rotary guidance advises. Stop if the section heats up noticeably rather than continuing to cut.
Treat sharp edges and tight contours conservatively. Use a hand-approved polish where you cannot maintain machine control; do not tilt the machine to force a large pad into a tight spot.
Refine the Finish, Then Stop Cutting
If compounding leaves haze or swirls, test a finer gelcoat polish with a clean finishing pad. Do not keep using a heavy-cut pad merely to chase the last bit of gloss. Some compounds finish well enough to go directly to protection; others benefit from a separate polishing stage. The 3M finishing guide cited above shows both options.
Remove residue, then apply a compatible wax or sealant unless the selected system already supplies the intended protection. Follow its application and wipe-off directions—3M’s Boat Wax, for example, should not be allowed to dry or haze, according to its product directions. Do not apply that instruction indiscriminately to other waxes.
Once the wiped, dry finish meets the test-patch standard, move on. The goal is an even, serviceable finish, not removing more coating to erase every old scratch.