
How to Apply Gelcoat: Prep, Mix, Coat and Finish
Learn how to apply gelcoat: check compatibility, prepare fiberglass, measure catalyst, build film thickness, exclude air and finish the cured coating.
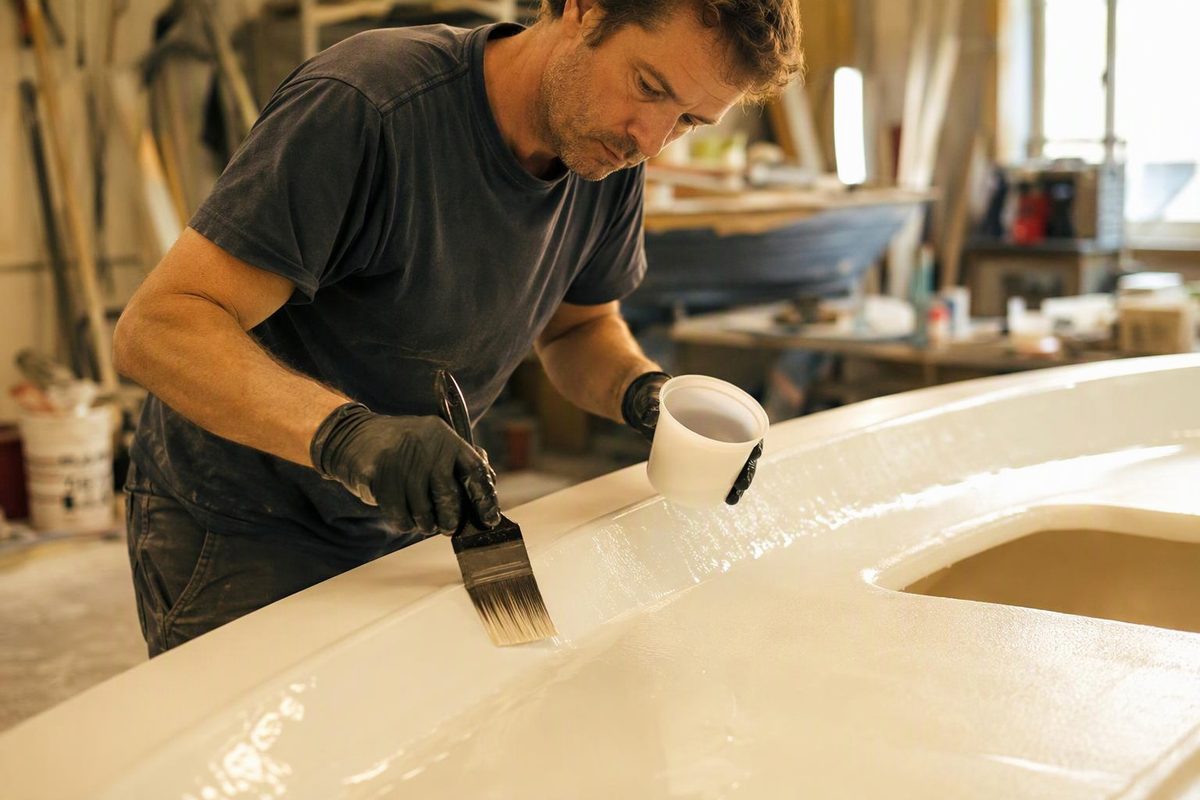
To apply conventional polyester gelcoat to an existing fiberglass surface, clean and dewax it before sanding, mix the specified MEKP catalyst into a small batch, build the recommended coating thickness, and provide an air barrier for the final coat so its surface cures hard. Then level and polish the cured finish where a smooth surface is intended.
This workflow is for coating sound, compatible fiberglass or finishing an already repaired area—not rebuilding damaged reinforcement. The numerical examples are for TotalBoat Gelcoat; use your own product’s current instructions for mixing, thickness, application conditions and cure requirements.
1. Confirm the surface is ready for a finish
Gelcoat is a surface finish, not a substitute for load-carrying fiberglass. In a boat laminate, most loads are carried by the reinforcing fibers, while gelcoat supplies the outer cosmetic and moisture-resistant surface. WEST SYSTEM’s fiberglass repair manual explains that distinction.
Stop before coating if the area flexes unexpectedly, leaks, has broken reinforcement, or contains cracks that move or keep returning. Diagnose and repair the underlying problem first; use our boat hull stress-crack guide for triage. For a stable chip rather than a broad coating job, follow the gelcoat repair workflow.
Identify the actual bonding surface, including any filler or primer:
- Old gelcoat or cured polyester laminate: suitable for products that approve these substrates, after preparation.
- Epoxy repair or epoxy fairing compound: do not assume direct compatibility. TotalBoat prohibits direct application over epoxy resins and fairing materials and specifies an approved primer procedure instead.
- Unknown coatings, acrylic fixtures or molded door skins: identify the material and obtain a compatible coating system before proceeding.
These substrate limits appear in TotalBoat’s gelcoat technical sheet, dated February 24, 2021. “Fiberglass” underneath does not make every surface coating compatible. Also confirm that your chosen system is intended for the exposure and service involved.
2. Choose waxed or unwaxed gelcoat
Conventional unwaxed polyester gelcoat cures firm but remains tacky where exposed to air. Plan the final curing method before mixing:
| Application | Gelcoat and curing approach |
|---|---|
| Multiple coats on an existing surface | Unwaxed gelcoat for intermediate coats; waxed gelcoat for the final coat, or an approved PVA barrier over the final unwaxed coat |
| Single-coat cosmetic repair | Waxed gelcoat, if suitable for the repair and required thickness |
| New part in a mold | Typically unwaxed gelcoat on a properly release-treated mold |
The paraffin in waxed gelcoat rises to form an air barrier. PVA—polyvinyl alcohol—can provide an alternative barrier over unwaxed gelcoat. Follow the gelcoat and barrier-product instructions for dosage and application timing. TotalBoat’s technical sheet explains both methods.
Molding is a different sequence: gelcoat goes into the prepared mold before reinforcement, rather than onto a finished laminate. Use the one-piece fiberglass mold workflow; do not sand the mold as though it were a repair substrate.
3. Set up, then clean and sand
Have everything ready before adding catalyst: gelcoat, its specified MEKP, compatible measuring equipment and mixing containers, masking materials, clean rags, abrasives, a natural-bristle brush or solvent-resistant roller, and your final-coat air barrier. A wet-film gauge helps check coating thickness.
Provide adequate ventilation and eliminate ignition sources. Wear chemical-resistant gloves, eye protection and protective clothing; select respiratory protection according to the gelcoat, catalyst and solvent safety sheets. The TotalBoat Gelcoat SDS identifies flammable vapor, inhalation hazards, and skin and eye irritation, and specifies explosion-proof ventilation equipment. Do not improvise ventilation with an ordinary household fan in a flammable-vapor area. An enclosed bathroom or boat compartment needs a safe exposure-control plan before work starts.
Check the product’s application-temperature limits too. TotalBoat lists 50–95°F, with 70–80°F ideal; do not try to compensate for unsuitable conditions by guessing a catalyst dose.
For an existing surface:
- Remove dirt, grease, polish and wax before sanding, so contamination is not worked into the surface.
- Repair and fair defects using materials approved beneath the gelcoat.
- Sand to the manufacturer’s specified bonding profile. TotalBoat specifies 80-grit for cured compatible substrates—not a polished surface.
- Remove sanding residue, perform the specified final solvent wipe, and allow the surface to dry completely.
- Mask neighboring surfaces and keep the prepared area free of moisture and dust.
TotalBoat specifies an acetone wipe with a clean lint-free cotton rag followed by a clean dry rag. That is a product-specific instruction, not permission to use acetone on unidentified plastics. See its surface-preparation directions.
4. Match color, then catalyze a small batch
Add compatible pigment before catalyst. Make a small cured sample, sand and buff it, and compare the finished color before tinting the working batch. Stay within the product’s pigment limit. TotalBoat’s tinting instructions describe this test-sample process.
Measure MEKP using the manufacturer’s chart for your batch size and conditions, checking whether quantities are specified by weight or volume. Do not substitute MEK solvent or epoxy hardener for MEKP.
As an example, TotalBoat lists 2% of its specified 9%-active MEKP and a 10–15-minute working time for a one-ounce batch at 77°F. Those figures are not a universal gelcoat recipe. Mix thoroughly without whipping in air, and catalyze only what you can apply within the stated working time. TotalBoat’s application data provides the example values.
Do not leave a large catalyzed batch sitting in a cup: curing generates substantial heat, as the technical sheet’s exotherm warning explains. Smaller batches reduce waste and the risk of material gelling before application.
5. Build thickness without flooding the surface
Brush or roll evenly, checking wet-film thickness rather than judging coverage by color alone. TotalBoat specifies roughly 5 mils per coat, building to 18–25 mils total—about 0.46–0.64 mm overall. Follow your product’s target; do not try to fill a deep cavity with one heavy coating.
Wait for the correct recoat stage. For TotalBoat’s unwaxed gelcoat, another coat can go on once the previous coat has gelled and started becoming firm, even though its surface remains tacky. Temperature, catalyst level and thickness change the interval, so a fixed waiting time is unreliable. See the manufacturer’s overcoat instructions.
Use wax only in the final coat of this sequence. If a waxed coat has already cured and needs recoating, dewax and abrade it according to the product’s preparation instructions.
Spraying requires gelcoat-compatible equipment and a suitable exposure-control setup. Do not improvise thinning with acetone: TotalBoat discourages it as a reducer.
6. Cure before sanding
Apply the planned final air barrier as directed and protect the coating from contamination while it cures. Gelled is not the same as ready to sand.
Jamestown’s practical sanding check is that gelcoat produces fine powder rather than feeling gummy under the abrasive. Cure time varies with temperature, thickness, catalyst and additives. See its sanding-readiness guidance.
If it remains soft through its depth beyond the expected cure period, stop. Check the mixing record, conditions and substrate compatibility rather than burying uncured material under another coat. Surface tack on firm unwaxed gelcoat is a different issue: it may indicate the missing air barrier.
7. Level and polish the cured coating
Remove PVA or surface wax as directed before finishing. Sand only enough to level high spots, then refine the scratches progressively. TotalBoat’s finishing instructions specify 220 or 320 grit for rough new coating, progressing to 1500 grit or finer before compounding. Those starting grits are not a recommendation for routine sanding of thin, aged gelcoat.
Protect edges and surrounding original finish; stop if sanding exposes underlying laminate. Use the gelcoat wet-sanding guide for grit selection and stop points, then compound and polish with compatible products. For textured decks or shower surfaces, retain the intended slip-resistant texture rather than buffing the walking surface smooth. Follow the coating system’s cure requirements before returning it to water or service.