
How to Color Match Gelcoat for a Small Repair
Color match gelcoat against a clean, polished surface. Choose the right base, adjust compatible pigments, and verify a cured sample before filling.
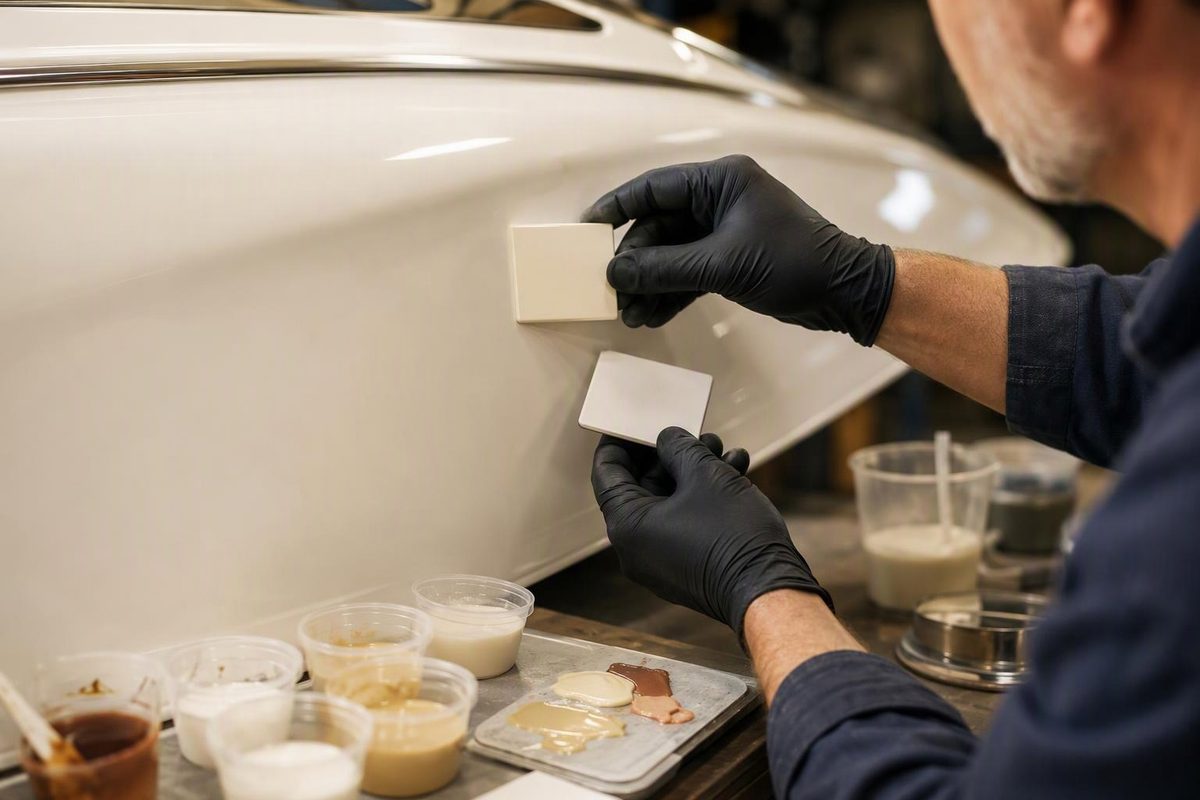
To color match gelcoat, tint an uncatalyzed batch against the clean, finished surface beside the damage, then cure and polish a test sample before committing to the repair. Wet gelcoat alone is not a reliable final check: color can change during cure, and application thickness can affect the result. WEST SYSTEM’s finishing guidance explains both effects.
This workflow is for a stable cosmetic chip or gouge in confirmed gelcoat. Broken reinforcement, a soft panel, leaking damage or a crack that moves needs assessment before color work. Start with gelcoat repair diagnosis if the damage depth is uncertain.
1. Establish the color you actually want to match
Clean the surrounding surface and make a small polishing test on sound gelcoat beside the repair. Compare against that dry, finished area—not dirt, chalking or a freshly sanded matte patch. Spectrum Color likewise requires a clean, shiny surface for its instrument-based matching process.
Decide whether you will restore the surrounding panel before selecting the repair color. A match made against the dull surface may no longer suit it after polishing. WEST SYSTEM notes that fading can prevent a repair from matching and that polishing the wider section may help restore the original color. If restoration is planned, use the boat gelcoat restoration workflow first.
For boats, ask the builder for the original gelcoat color information, specifying the year and whether the repair is on the hull or deck. Treat factory-matched material as a starting point, not proof of a match on an aged surface. Jamestown Distributors’ color-matching advice explains why the original shade may no longer match.
For tubs and shower pans, confirm the exposed finish first. Do not assume an acrylic surface or a previous refinishing coating is polyester gelcoat.
2. Choose prematched material or a tintable base
Prematched gelcoat can save mixing time, but check whether the particular repair product permits tinting. For example, Spectrum Color’s product instructions state that its Patch Paste Kits cannot be tinted. If the sample is wrong, contact the supplier rather than adding pigment against its instructions.
For a tintable system:
- White base: Start here for white, cream, beige and other pale colors.
- Neutral base: Use this for saturated or dark colors. Adding red to a white base produces a lighter, pinker result rather than a deep red.
- Compatible pigments: Use colorants expressly approved for that gelcoat or polyester resin—not an arbitrary paint tint or epoxy-only colorant.
Check the tint limit for the exact base. Limits are not interchangeable: TotalBoat’s gelcoat instructions specify a much lower limit for white base than neutral base and warn that excess colorant can compromise cure or physical properties.
Also verify compatibility with any underlying filler or resin repair. A good color does not establish adhesion; the same instructions place specific restrictions on application over epoxy.
3. Adjust the color before adding catalyst
Work with adequate ventilation and the protective equipment specified by the gelcoat, catalyst and solvent safety data sheets.
Mix the base thoroughly as directed, then measure an uncatalyzed trial batch. Keep a record of the base quantity and every pigment addition so the successful recipe can be reproduced.
Add very small increments and mix completely before judging each change. For pale boat colors, yellow, brown and black are useful starting pigments, but add only what the comparison calls for. TotalBoat’s color-matching demonstration emphasizes tiny additions to avoid overshooting.
Think about the mismatch in two stages:
- Hue: Does the sample need to be more yellow, red, blue or green?
- Lightness: Once the hue is close, is it too light or too dark?
Black can darken a mixture rapidly; lightening it again takes substantially more white. WEST SYSTEM recommends this hue-then-brightness approach and very small pigment additions. If you overshoot badly, restart rather than continually increasing the pigment load.
Use preliminary comparisons to narrow the recipe, but do not approve it while wet.
4. Cure and finish a representative sample
Make a separate test sample using the intended repair formulation, at a thickness representative of the repair and within the product’s limits. Include any approved additives you plan to use.
Catalyze only the test portion, following the manufacturer’s catalyst and temperature instructions. Provide the specified surface-cure method: waxed finishing gelcoat or an approved air-exclusion method for unwaxed material.
Let the sample fully cure, then sand as needed and buff it to the intended finish. Hold it beside the prepared reference area. Check in daylight and in the lighting where the repair will normally be seen.
If it is wrong, adjust the uncatalyzed batch and make another sample. TotalBoat specifically requires fully cured, sanded and buffed test samples before scaling up the color recipe.
5. Scale the approved recipe—not the guess
Use the same measurement basis when scaling: do not switch between weight and volume. Prepare enough uncatalyzed matched material for the repair and likely touch-ups, but catalyze only what you can apply within the product’s working time. Keep catalyst quantity within the instructions; it is not a color-adjustment tool.
The shiny reference area is for judging color, not bonding new gelcoat. Before applying the patch, clean, degrease and dewax the repair area, then abrade it as the repair product directs. TotalBoat’s preparation instructions require contaminants to be removed before sanding.
After the patch cures, level and polish it using the gelcoat repair finishing sequence. Judge color only after the repair’s texture and gloss are comparable with the surrounding finish. If repeated finished samples still disagree, stop before filling and ask a gelcoat supplier or repair specialist about a custom match.