
Sanding Epoxy: Cure, Grit and Surface Prep
Wait for epoxy to cure, remove amine blush, then choose sanding grit for fairing, recoating or painting without cutting into fiberglass.
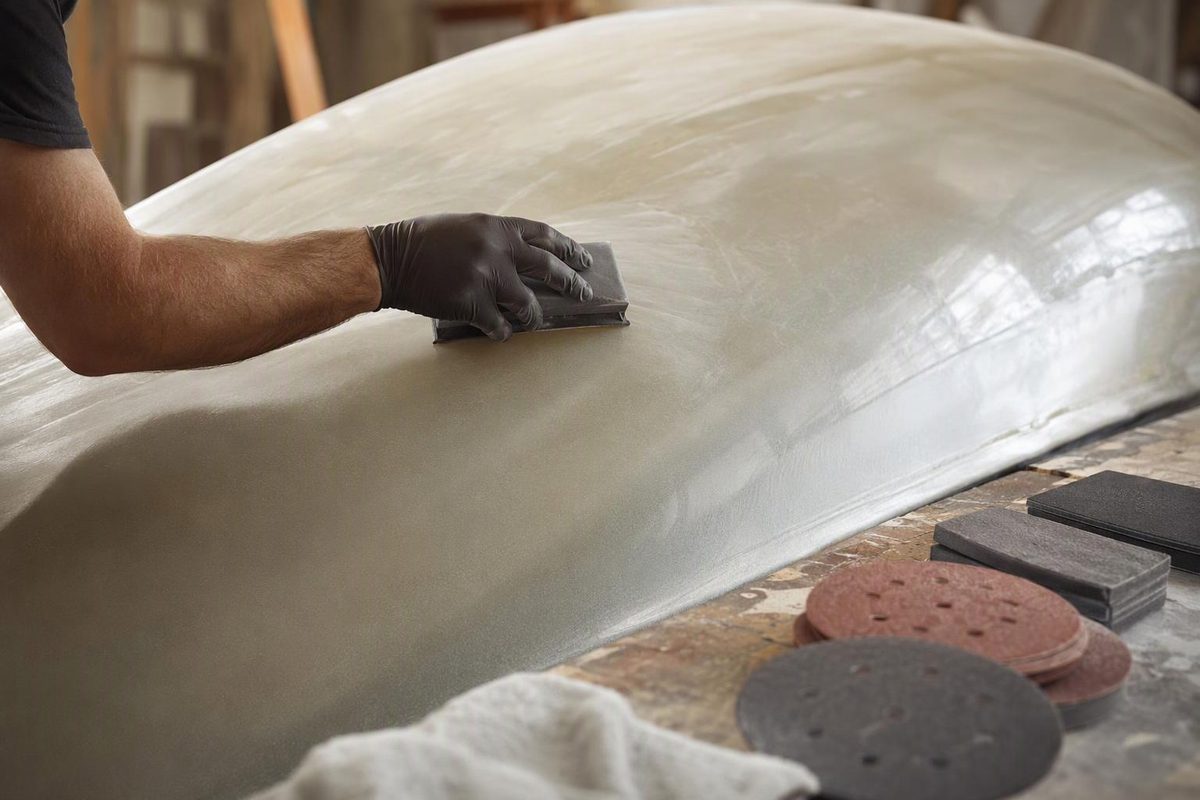
Do not start sanding epoxy just because it feels firm. First confirm that it has reached the manufacturer’s sandable cure, then determine whether the job is shaping filler, preparing for more epoxy or preparing for paint. Those jobs can require different grits.
If the epoxy smears, rolls into gummy crumbs or immediately loads the paper, stop. It may be too early to sand, the temperature may have slowed the cure, or the resin and hardener may have been measured or mixed incorrectly. Do not cover persistently soft or sticky epoxy with another coating; diagnose the cure first using the product instructions and the checks in Epoxy Hardener and Resin: How to Match, Measure and Mix.
Wash cured epoxy before sanding
Many amine-cured epoxies can develop amine blush, a water-soluble, wax-like surface film. Sanding it first can clog the abrasive and spread contamination across the surface. WEST SYSTEM directs users to wash cured epoxy with clean water and an abrasive pad, dry it with paper towels, and then sand remaining glossy areas. It specifically advises water rather than solvent for blush removal (WEST SYSTEM surface-preparation guidance).
Use this sequence unless the epoxy manufacturer gives different instructions:
- Let the epoxy reach its stated sandable cure at the actual shop temperature.
- Wash with clean water and a clean abrasive pad. Use soap only if the product instructions call for it.
- Dry with clean, disposable towels and let the surface dry completely.
- Sand for the next operation.
A product described as non-blushing does not eliminate the need to remove grease, wax, release agent or other contamination. Clean contamination before sanding so it is not driven into the surface.
Choose grit by what comes next
There is no single correct “epoxy sanding grit.” Follow the resin, primer or topcoat data sheet when it specifies one. Otherwise, these are practical starting points:
| Job | Starting point | Stop point |
|---|---|---|
| Remove substantial excess epoxy fairing compound | 50–60 grit | 80 grit near the final contour |
| Shape a modest fairing patch | 80 grit | 80–120 grit, depending on the next coat |
| Prepare fully cured epoxy for another epoxy coat or bond | 80 grit | Uniformly dull 80-grit profile |
| Prepare for high-build primer | 80–100 grit | As required by the primer maker |
| Prepare for primer or a high-solids coating | 120–180 grit | As required by the coating maker |
| Prepare for a smoother paint or varnish finish | 220–400 grit may suit some systems | Only as specified by the finish maker |
WEST SYSTEM recommends 50 grit only when substantial fairing material must be removed, changing to 80 grit near the desired contour (fairing instructions). For a secondary epoxy bond, its general guidance calls for 80-grit aluminum-oxide paper to provide a mechanical key. For finishing, the same manufacturer says 80–100 grit can suit a high-build primer, 120–180 may suit primers and high-solids coatings, and 220–400 can suit many paint or varnish systems—but the coating instructions control (final epoxy surface preparation).
Avoid polishing a bonding surface with unnecessarily fine paper. Conversely, deep 50-grit scratches may print through a thin, glossy coating.
Sand without changing the shape
For a small patch, use a firm sanding block that extends beyond the repair. For a broad hull, deck or panel, use a longer fairing board where the shape permits. A small soft pad can follow every bump and hollow instead of leveling them.
- Inspect first. Mark high spots, runs and patch edges. If the area flexes, sounds delaminated or contains fractured reinforcement, sanding is not the repair; assess the laminate before doing cosmetic work.
- Cut the high spots. Use light, even pressure and keep the block moving. On broad areas, change direction between passes so one groove is not repeatedly deepened.
- Protect edges and corners. They lose coating thickness faster than flat areas. Hand-sand them rather than letting a power sander dwell there.
- Check often. The target is a fair, uniformly dull surface—not maximum material removal. Shiny low spots need filling if sanding them out would distort the panel.
- Advance the grit only after the shape is correct. Each finer grit should remove the previous abrasive pattern, not compensate for an unfair surface.
If glass fibers become visible where you intended to sand only the epoxy coating or fairing layer, stop. Interlux likewise warns not to sand through the resin layer into reinforcement when preparing an epoxy composite (Interlux epoxy-composite repainting guide). Exposed fibers in a planned structural bevel are different from accidentally thinning sound laminate. A load-bearing hull repair needs the specified taper and reinforcement schedule, not improvised cosmetic sanding.
For low areas, add a compatible fairing compound rather than grinding down the surrounding laminate. A low-density fairing filler is easier to shape than neat epoxy or a high-density structural adhesive; choose the filler by its job.
Remove dust without recontaminating the epoxy
Vacuum the surface and use a clean, uncontaminated brush if needed. WEST SYSTEM advises against compressed air because it can deposit compressor oil or water, and it cautions that sticky tack cloths can leave residue that interferes with epoxy (surface-preparation guidance). Follow the coating maker’s specified final cleaner rather than automatically wiping epoxy with acetone.
Before coating, the surface should be:
- uniformly dull, with no glossy islands;
- fair to sight and touch;
- dry and free of loose dust;
- free of blush, grease and sanding residue; and
- within the primer or topcoat manufacturer’s specified preparation window.
A fresh-water rinse provides a useful contamination check: clean water should sheet evenly rather than bead or channel in isolated spots. Let the surface dry fully before recoating.
Control epoxy and composite dust
Sanding and grinding cured composites can generate very fine dust that should be treated as respirable. Existing paint may add hazards of its own, depending on its pigments and age (OSHA Technical Manual, polymer-matrix composites).
Use dust extraction at the tool, ventilate the work area, wear eye protection and keep dust off skin and clothing. WEST SYSTEM recommends an N95-rated dust/mist mask or better for epoxy, wood and nuisance dust, while emphasizing that partially cured epoxy dust presents a greater sensitization risk (epoxy overexposure guidance). Check the epoxy, filler and old-coating safety data sheets because the required respiratory protection may be more stringent. For fiberglass-specific controls, see Is Fiberglass Dust Dangerous? Risks and PPE.