
Heat Gun for Epoxy Resin: Use Low Heat, Not More Heat
Use a heat gun on epoxy resin without causing outgassing, sagging or runaway cure, and know when fiberglass bubbles require consolidation instead.
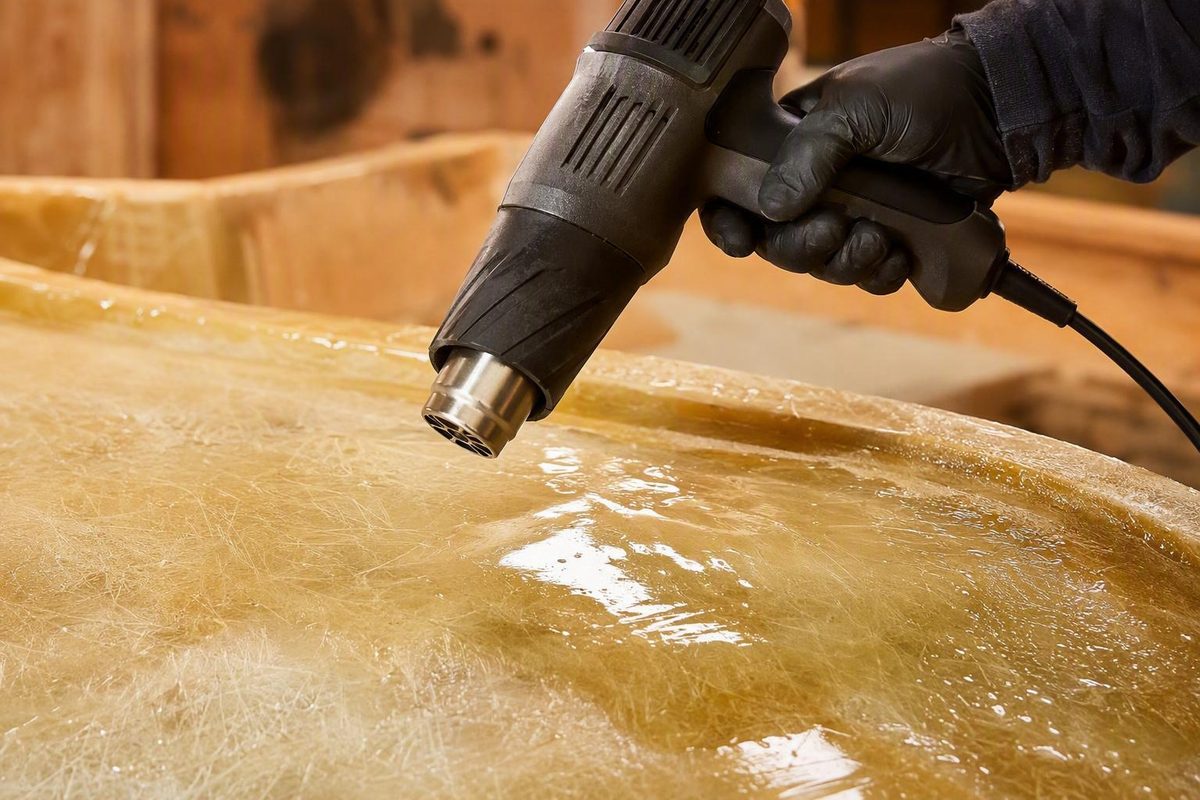
A heat gun can help release fine surface bubbles, lower viscosity briefly or support a cold-weather cure. It cannot correct a bad mix ratio, replace proper fiberglass consolidation or repair a void after the epoxy gels.
For fiberglass work, treat the gun as a limited process-control tool: low setting, continuous movement and short passes. The resin manufacturer’s temperature, layer-thickness and cure instructions take priority.
First identify the job
| Situation | Better first move | Heat-gun role |
|---|---|---|
| Fine bubbles in a thin clear coat | Tip off with a foam brush or roller | Optional brief, low-heat passes |
| White or silvery areas in wet fiberglass | Add resin where dry; consolidate with a spreader or roller | Usually unnecessary |
| Bubbles rising from wood or porous core | Warm and then let the substrate cool before coating | Use before mixing, not after coating |
| Cold resin that is hard to wet out | Condition unopened components as the maker permits | Prefer even warming before mixing |
| Epoxy already gelling | Stop working it | Do not chase bubbles with heat |
| Thick casting or epoxy in a confined void | Follow the product’s maximum pour depth | Do not improvise with a heat gun |
A fiberglass laminate has a different standard from a decorative coating. Properly wetted cloth should look evenly transparent; white areas indicate dry reinforcement. WEST SYSTEM instructs users to spread resin through the cloth, then remove excess with a low-angle plastic spreader before gel begins (WEST SYSTEM). A heat gun may make resin flow more easily, but it does not press cloth against the substrate or remove a trapped pocket beneath it. For help classifying defects, see air bubbles in fiberglass.
A controlled method
- Read the resin instructions first. Confirm the approved working-temperature range, pot life, maximum layer thickness and whether supplemental heat is permitted. Casting, coating and laminating epoxies are not interchangeable.
- Prepare the environment. Remove solvent containers, sanding dust and other combustibles. Follow the epoxy safety data sheet for ventilation and protective equipment. Keep the heat gun’s hot nozzle away from plastic sheeting, foam and the work surface.
- Prevent outgassing. On wood or porous core, warm the dry substrate first and coat it while its temperature is stable or falling. Heating a porous surface after wet epoxy is on it can expand trapped air and create more bubbles. System Three likewise recommends working at a constant or falling temperature and describes preheating porous wood before coating (System Three).
- Mix accurately and gently. Use the specified ratio, scrape the sides and bottom, and avoid whipping air into the batch. Do not add extra hardener to accelerate cure; WEST SYSTEM explicitly warns against that response to slow or incomplete curing (WEST SYSTEM).
- Apply and consolidate first. Wet out the fiberglass, correct dry-looking areas and remove excess resin with the appropriate spreader or roller. Excessive working can itself suspend minute bubbles in epoxy (WEST SYSTEM).
- Use the lowest useful heat and airflow. Hold the gun off the surface, keep it moving and sweep across the area rather than dwelling on one spot. Watch the resin, not the clock. Stop when bubbles release or viscosity falls slightly.
- Stop at warning signs. Pull the heat away if the coating ripples, craters, smokes, yellows, sags rapidly or becomes unexpectedly hot. Do not keep heating epoxy once it has begun to gel.
Why too much heat backfires
Warmer epoxy cures faster, and cure itself generates heat. A thick or confined mass retains more of that exothermic heat, accelerating the reaction further. WEST SYSTEM warns that a contained mass can become hot enough to melt a plastic cup or burn skin; it also says never to heat liquid mixed epoxy above 120°F (49°C) (WEST SYSTEM). That figure is a ceiling in WEST SYSTEM’s guidance, not a target for every resin.
Local overheating can also make a coating pull away and crater. Heating uncured epoxy over porous material may produce fresh bubbles as air in the substrate expands (System Three). This is why a quick pass over a thin surface film is fundamentally different from heating a mixing cup, deep pour, fillet or foam-backed cavity.
If a bubble remains after cure, do not try to re-melt the epoxy. For a nonstructural finish defect, the usual route is to let it cure, sand back to sound material, clean it and recoat according to the resin maker’s instructions. A void within load-carrying fiberglass needs a repair decision based on its depth, location and extent—not cosmetic reheating. Resin-and-reinforcement compatibility also matters before any rework; see fiberglass with epoxy resin.