
Painting a Fiberglass Door: Prep, Prime and Finish
Identify the door finish, clean and scuff it correctly, then choose compatible primer and exterior paint for a durable fiberglass-door finish.
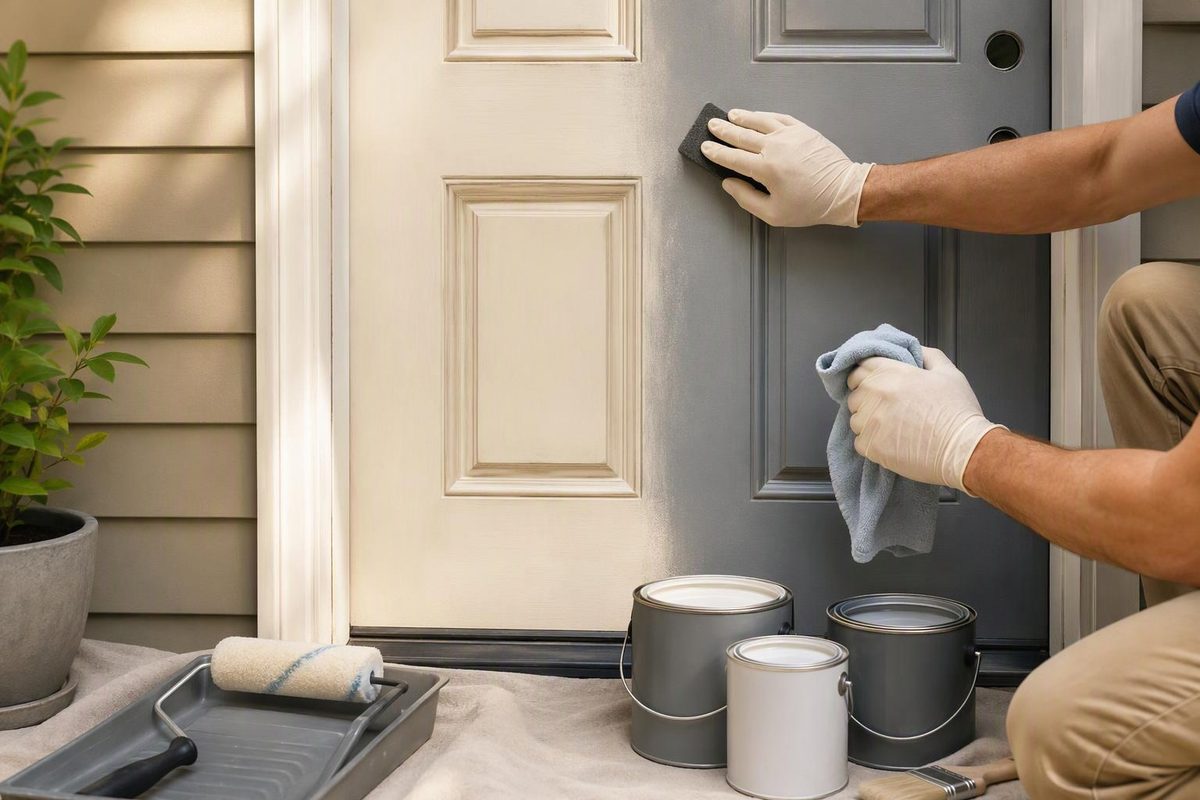
A fiberglass entry door can usually be painted, but the correct system depends on the specific door skin and its existing finish. Before sanding or buying primer, look for the manufacturer and model on the door label, hinge edge or purchase paperwork. Current finishing instructions and warranty terms for that model take priority over a generic method.
Requirements differ even among fiberglass doors. Therma-Tru’s captured instructions, for example, direct owners of Smooth-Star doors to clean the surface and apply high-quality acrylic latex house paint, with exterior-grade paint on outside surfaces. They also require the edges and exposed ends to be finished (Therma-Tru finishing manual).
First identify what you are painting
Use this quick diagnosis:
- New, unfinished or factory-primed door: Confirm whether the apparent primer is a paint-ready factory coating. Follow the door maker’s cleaning, priming and finishing schedule.
- Sound painted door: Clean it, dull the gloss if the coating instructions call for it, and recoat with a compatible system. Full stripping is normally unnecessary.
- Peeling or blistered paint: Remove every loose edge and investigate the failure. Contamination, poor adhesion and moisture exposure must be addressed before repainting.
- Wood-grain door intended for stain: Paint may still be permitted, but check the model instructions. To retain a stained-wood appearance, use only a system expressly approved for that finish grade; see gel stain on fiberglass doors.
- Cracked, soft, swollen or separating skin: Stop. Paint will not repair a damaged skin, wet core or delamination.
Check color restrictions as well. Dark finishes absorb more solar heat, and warranty terms may limit them based on exposure or paint reflectance. ODL warns that dark paint exposed to direct sunlight may deteriorate quickly and require frequent inspection and maintenance (ODL finishing instructions).
Materials
- Mild detergent and clean water
- Lint-free cloths
- Fine abrasive pad or the grit specified by the door maker
- Compatible exterior primer, if required
- High-quality exterior paint approved for the substrate
- Quality synthetic angled brush and small smooth-finish roller
- Painter’s tape, drop cloth, screwdriver and padded supports
- Gloves, eye protection and any additional protective equipment required by the coating labels
Do not choose a coating merely because the can says “exterior.” Confirm that the primer accepts the topcoat and that both are approved for the factory coating or fiberglass-composite substrate.
1. Choose suitable conditions
Work out of direct sun in a clean, dry, ventilated area. Stay within the primer and paint labels’ temperature, humidity and recoat limits. ODL recommends working above 50°F and below 90°F for its doors, while expressly deferring to the coating manufacturer’s instructions (ODL finishing instructions).
A horizontal door is easier to coat without runs, but removing a heavy slab can complicate hinge alignment. If painting it in place, decide how to secure the opening while the coats dry and avoid closing the door against tacky weatherstripping.
2. Remove hardware and weatherstripping
Take off the lockset, kick plate and other removable hardware rather than painting around them. Remove friction-fit weatherstripping only if the door maker permits it, noting each piece’s location for reinstallation. Mask glass and anything else that cannot be removed.
Do not paint flexible weatherstripping. Therma-Tru and ODL both direct users to remove it for finishing and reinstall it only after the door has dried (Therma-Tru; ODL).
3. Wash, rinse and dry
Wash away fingerprints, dirt and residue with mild detergent and water. Rinse thoroughly and let the door dry completely. This basic sequence appears in both Therma-Tru and ODL instructions.
Use acetone, denatured alcohol, mineral spirits or another solvent only when the door manufacturer specifically directs it. Instructions differ: ODL specifies denatured alcohol for its fiberglass surfaces, while Plastpro specifies acetone for its smooth-skin doors. The wrong cleaner can leave residue or affect trim, glazing seals or an existing coating (ODL; Plastpro).
4. Repair defects and scuff only as directed
Scrape off loose paint without gouging the molded skin. Feather sound paint edges, then fill minor surface defects with a product approved for the door and coating system. A crack that moves when the door operates is not merely a paint defect and needs diagnosis before filling.
If the manufacturer calls for abrasion, scuff lightly until the surface is evenly dull. Preserve molded wood grain and stop before removing the manufactured finish or exposing fibers. ODL specifies a light scuff with 220-grit paper for its doors, while Plastpro calls for a Scotch-Brite pad or fine paper on its smooth-skin doors (ODL; Plastpro). Remove all dust before coating.
Do not assume every fiberglass door should be sanded. Follow the instructions for the exact model and existing finish.
5. Prime where required
Prime bare repairs, exposed substrate and any area required by the door or paint manufacturer. If the instructions call for a complete prime coat, apply it thinly and evenly to every specified face and edge. Let it dry for the full label time.
On an unknown but sound existing finish, test the proposed system in an inconspicuous spot. Prepare the spot, apply the primer or paint and allow the stated cure time before checking adhesion. A successful test reduces uncertainty but does not override the door warranty or coating data sheet.
6. Apply the finish coats
Start with recessed panels and molded details, then coat horizontal rails and vertical stiles. Brush paint out of corners before it pools. On broad smooth areas, use a small smooth-finish roller and lightly tip off the surface if the paint maker permits. Keep a wet edge and apply thin coats rather than one heavy coat.
Observe the stated recoat time. Dry-to-touch is not the same as ready to recoat or ready to close against a gasket. General front-door guidance from Benjamin Moore likewise calls for cleaning, removing loose paint, sanding appropriately, using a substrate-suitable primer and allowing each coat to dry fully (Benjamin Moore front-door guide).
Finish the faces, hinge and latch edges, top and bottom wherever the door manufacturer requires it. Therma-Tru, ODL and Plastpro each specify all six sides in the captured instructions for the covered doors. Plastpro also calls for coating prepared lock bores on its smooth-skin models (Plastpro instructions). Avoid coating labels, hinge bearing surfaces, glazing seals and drainage paths.
Reinstall hardware and weatherstripping only after the finish has dried sufficiently. Inspect the coating at least annually, especially where sun and rain exposure are severe. Touch up chips promptly and renew the finish when it becomes chalky, cracked, rough or poorly adhered.